
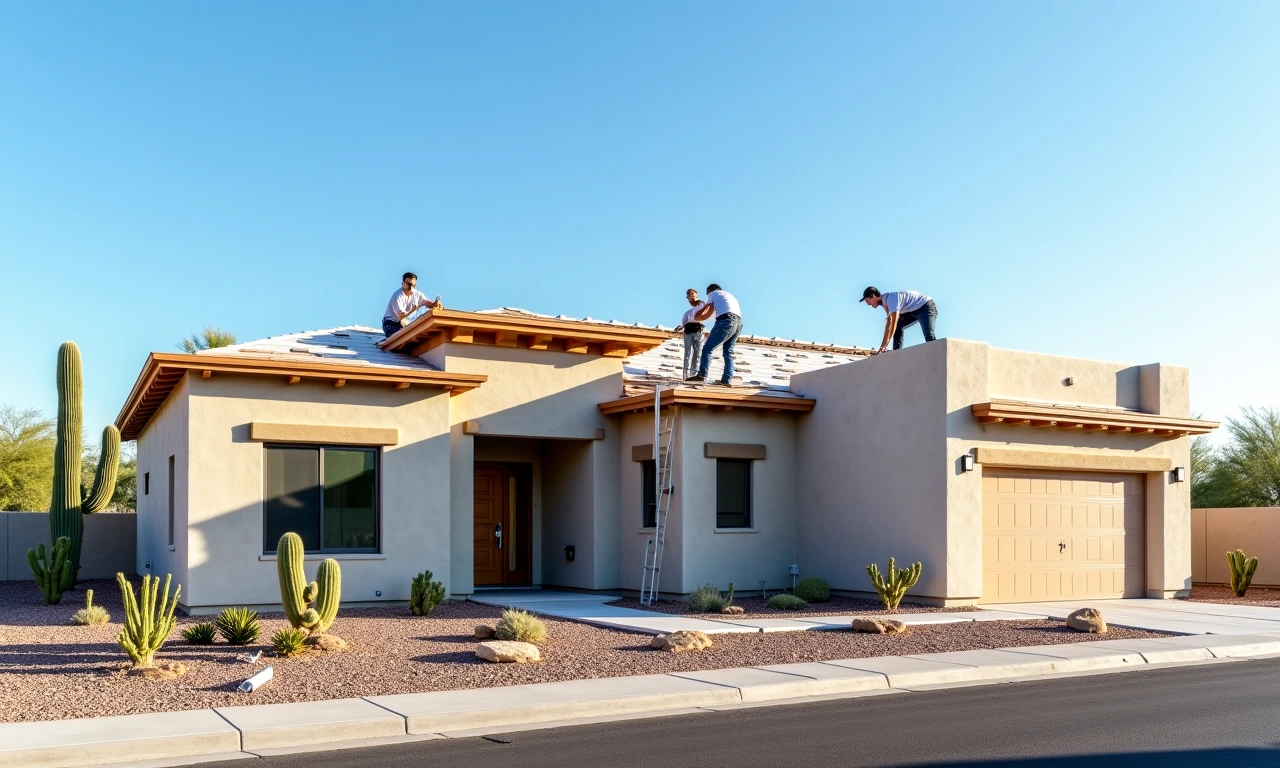
Expert Roof Installation for Tucson & Southern Arizona
David Contreras, owner of DC Roofing of Arizona, has been installing roofs in Tucson since 2011. DC Roofing of Arizona (ROC #328733) was founded in 2020 and has completed over 800 roofing projects across Southern Arizona - new construction, full replacements, and everything in between. If you're asking whether you need a full roof installation rather than another repair, here's the honest answer.
How to Know When Repair Is No Longer Enough
We get this question a lot. Someone calls about a leak near their evaporative cooler. We fix it, and six months later there's another one on the opposite side. Then a third. At some point you have to step back and look at the bigger picture.
A single roof repair makes total sense when the rest of your roof is solid. But when repairs start stacking up, that's your roof telling you something. We see that every week on older homes around Barrio Viejo and across south Tucson. The signs that point toward a full installation rather than another patch: you've had three or more repairs in the last two years and new problems keep showing up in different spots; your underlayment is brittle or cracked from years of UV exposure; tile is crumbling, not just cracked from impact; or your roof is over 20 years old and has never had the underlayment replaced. That last one catches people off guard - clay and concrete tile can last decades in Tucson, but the felt or synthetic layer underneath takes a beating from our heat. The tiles might look fine from the ground while everything below them is failing.
David comes out and does the inspection himself. He tells you what he actually sees - not what sells the biggest job. If a repair handles it, we'll say so. But if the damage is widespread, if the deck is compromised, if we're basically holding things together with patches, a full roof installation is the smarter move. You stop spending money on fixes that won't last, and you get a roof built for another 20-plus years of Tucson summers and monsoons.
Flat Roofs, Tile, and the Right Material for Your Home
Most homes in Tucson already tell us what they need. A ranch-style house in the Catalina Foothills with a steep pitch? That's almost always tile. A mid-century place near Sam Hughes with a flat or low-slope roof? Different conversation entirely. The right material depends on your roof's slope, your home's structure, and what Tucson's climate is going to throw at it for the next few decades.
Flat and Low-Slope Roofs
Flat roofs are everywhere in Tucson - on older homes, commercial buildings, additions, carports. But they can't handle tile or shingles. Water doesn't shed fast enough. For flat roof installation, we typically work with modified bitumen, TPO, or spray foam with a protective coating. Each handles UV and monsoon rain differently, and we walk you through what makes sense for your specific structure before anything gets ordered.
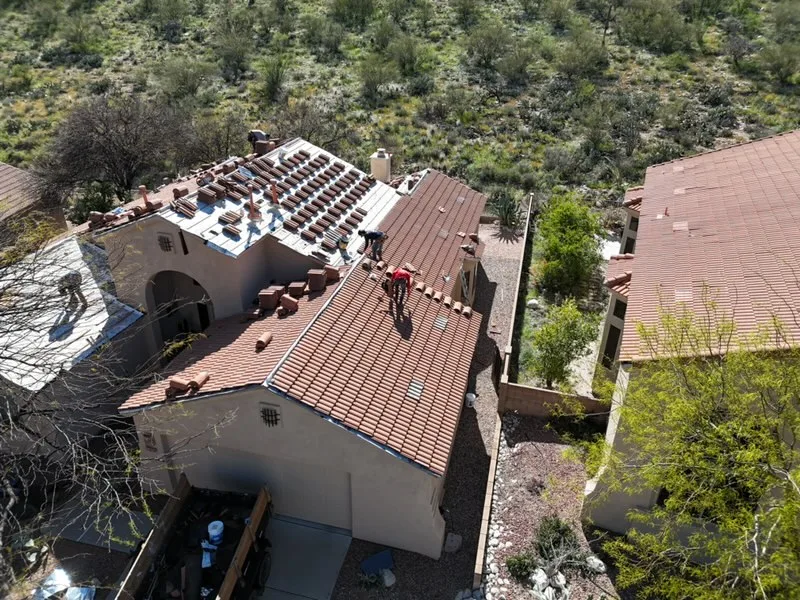
Tile Roofs
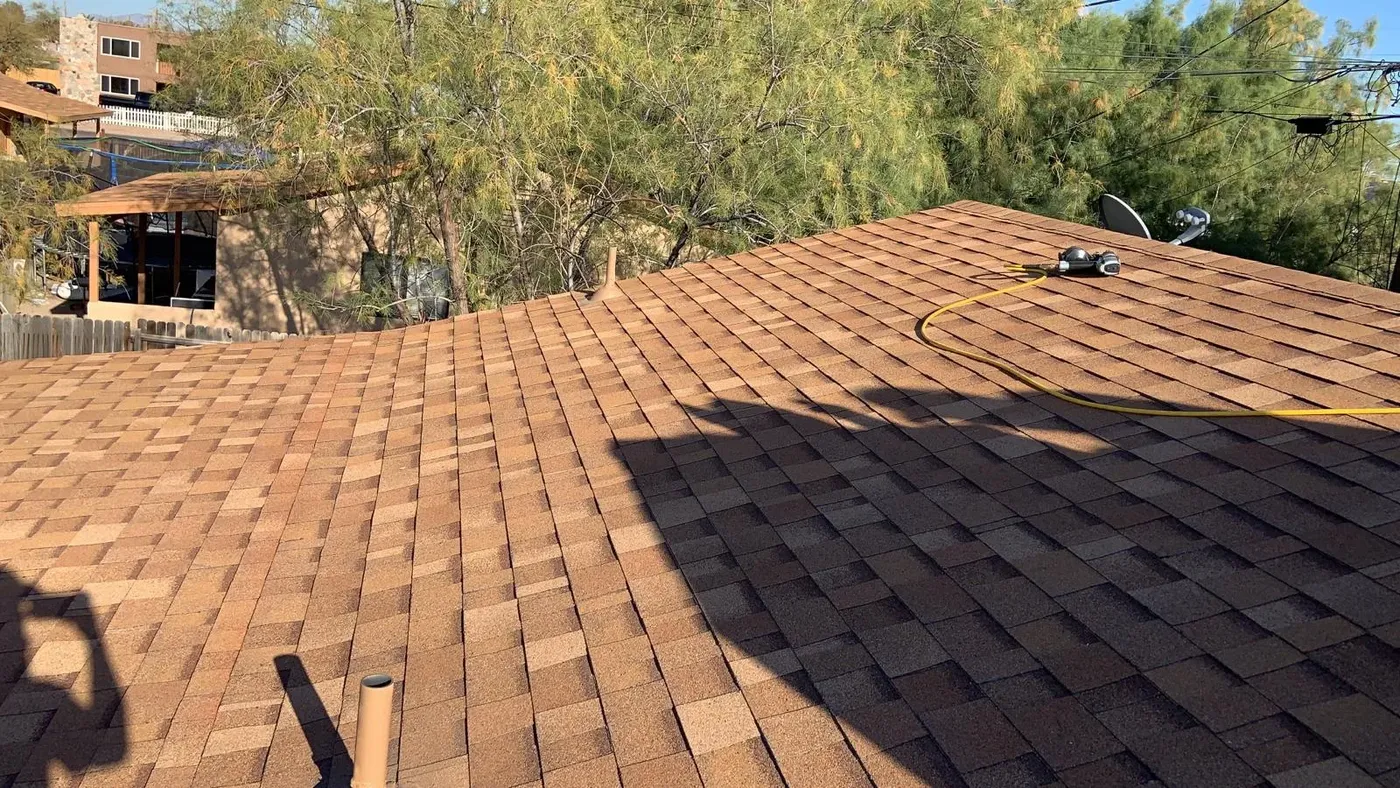
Clay and concrete tile dominate the Tucson roofing landscape. They hold up well against intense sun and look good doing it. But tile is heavy - your roof deck and framing need to support that load, and we check structural capacity before anything gets ordered. We also install proper underlayment beneath the tile, because that layer is what truly keeps water out when monsoon storms drive rain sideways. Shingles are less common here but work fine on pitched roofs when budget calls for it; they just won't last as long under our UV exposure as they would in a milder climate.
What a Real Pre-Installation Inspection Covers
When we come out to your home in Tucson before a roof installation, David does the inspection himself. He's looking at the full picture, not just the surface: decking condition for soft spots and moisture damage beneath the old roof; flashing integrity around chimneys, vents, skylights, and cooler mounts; underlayment breakdown from years of UV exposure and thermal cycling; structural issues like sagging or uneven planes that need correction; and drainage and slope, especially on flat or low-slope sections common on older Tucson homes. We see damaged decking on about half the jobs we do - usually around evaporative cooler penetrations. The homeowner had no idea.
We document everything with photos and walk you through what we found. If the decking is solid and your structure looks good, we tell you that. If there's something that needs fixing first, you'll know exactly what it is and why it matters before any work starts. This inspection is free, with no obligation attached. You can't build a good roof on bad information.
Permits, Inspections, and Arizona ROC Licensing
In Tucson, a building permit is required for roof installation on residential and commercial properties - it's not optional, and it protects you more than anyone. We handle the permit process for every job: pull the permit, schedule the inspections, make sure everything passes. You don't have to go to Pima County Development Services or figure out which forms to fill out. That's just part of the job.
Tucson typically requires at least two inspections during a roof installation: one after we strip the old roof and install underlayment, and one after the finished roof is in place. We see crews from other companies rush through these steps or skip details that cause failed inspections. We don't. Every layer gets done right before the next one goes on. And then there's licensing - any roofing contractor working in Tucson must hold an active license through the Arizona Registrar of Contractors. Our ROC number is 328733. You can look it up. Before you sign anything with any roofer, ask for their ROC number and check it online. Make sure their license is active and they carry both liability insurance and workers' comp.
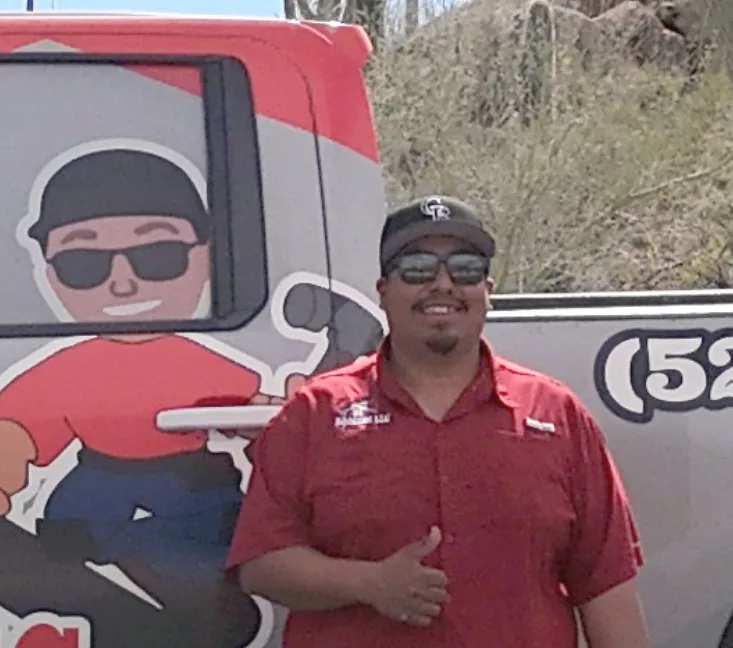
David Contreras, Owner & Founder - DC Roofing of Arizona · Licensed ROC #328733 · Tucson native since 1989
How Our Roof Installation Process Works
- 1
Protect the Property
Before anything gets torn off, we cover landscaping, patio furniture, and walls with tarps. We've seen too many jobs where crews just let debris fly into yards. That's not how we work.
- 2
Strip the Old Roof
Every layer comes off down to the deck - shingles, underlayment, old flashing, all of it. No shortcuts. You can't build something solid on top of something rotten.
- 3
Inspect and Repair the Deck
Once the surface is bare, we walk every inch of plywood or sheathing. Soft spots get cut out and replaced. We find damaged decking on about half the jobs we do in Tucson, usually around evaporative cooler penetrations.
- 4
Install Underlayment and Flashing
This layer is your real defense against water. We pay close attention to valleys, vents, and pipe boots. Tucson's thermal cycling puts serious stress on flashing, so getting this right matters more here than in milder climates.
- 5
Set the Roofing Material
Tile, shingle, or flat roof membrane - whatever your home calls for. Each row gets checked for alignment. Fastener spacing follows manufacturer specs exactly. Every penetration and edge gets sealed and counter-flashed.
- 6
Clean Up and Final Walkthrough
We run magnets across the yard for nails, bag debris, and haul it off. David checks the job at multiple stages - not from behind a desk, on the roof. When the job's done, we walk the property with you and answer every question before we leave.
Ready to Get Started?
Same-day response. Licensed ROC #328733. Tucson's top-rated roofing crew.
Roof Installation Services We Provide in Tucson and Southern Arizona
What Tucson Homeowners Gain from Choosing DC Roofing of Arizona
Roof Installation in Tucson, Oro Valley, Marana, Sahuarita, Green Valley, and Vail
DC Roofing of Arizona provides roof installation services throughout Southern Arizona, including:
Frequently Asked Questions About Roof Installation in Tucson
How do I know if I need a full roof installation or just another repair?
If you've had three or more repairs in the last two years, a full roof installation is likely the smarter move. Repairs make sense when the rest of your roof is solid. But when problems keep showing up in different spots, the roof is telling you something. We see this every week on older homes around Barrio Viejo and south Tucson. The other big sign is underlayment breakdown - your tile can look fine from the driveway while everything beneath it is failing.
What happens during a roof inspection before installation in Tucson?
A real pre-installation inspection covers your decking, flashing, underlayment, and drainage - not just a quick walk on the surface. David does the inspection himself and checks for soft spots in the decking, moisture damage around evaporative cooler penetrations, and structural issues that need fixing before new material goes on. We document everything with photos and walk you through what we found. Skipping this step means your new roof sits on top of old problems.
Does Tucson's heat affect how long a roof installation lasts?
Yes, and the underlayment is where most people get surprised. Clay and concrete tile can last decades here, but the felt or synthetic layer underneath takes a beating from Tucson's UV exposure and heat cycles. Tiles can look fine from the ground while the underlayment beneath them is breaking down. That's why we replace the underlayment during every full installation - it's what actually keeps water out when monsoon storms drive rain sideways.
What roofing materials work best on flat roofs in Tucson?
Flat roofs can't handle tile or shingles - water doesn't shed fast enough on a low slope. For flat roof installation in Tucson, we typically work with modified bitumen, TPO, or spray foam with a protective coating. Each option handles UV exposure and monsoon rain differently. We walk you through what fits your specific structure before anything gets ordered. Homeowners are often surprised at how many solid options exist for a flat roof.
How long does a roof installation take on a typical Tucson home?
Most residential roof installations in Tucson take one to three days depending on the size of the home, the material, and what we find once the old roof comes off. Tile roofs take longer than flat roof systems because of the weight and the care needed with each course. If we find decking damage during tear-off, that adds time - but we tell you upfront what we found and why, so there are no surprises mid-project.
Do I need a permit for roof installation in Tucson?
Yes, most full roof installations in Tucson require a permit through the city. A licensed contractor handles the permit pull for you - that's part of working with someone who is properly licensed and accountable. Permits protect you: they mean the work gets inspected and meets local code. If a contractor skips the permit, that can cause real problems when you sell the home or file an insurance claim. Always ask whether permits are included before work starts.